
Published On Jan 29, 2024
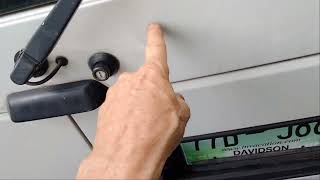
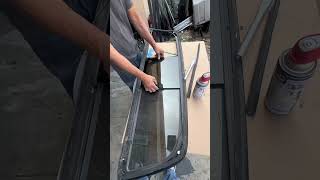
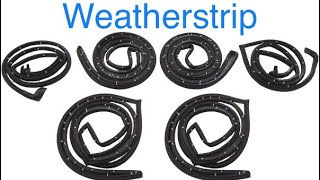
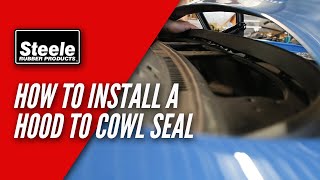
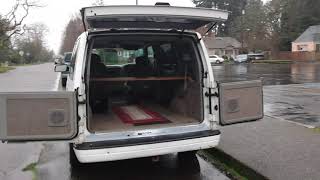
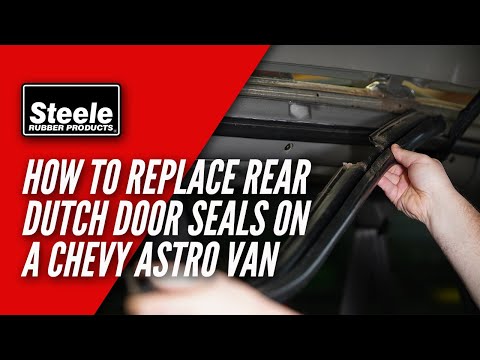
We're replacing all the weatherstripping on the rear of this 2002 Chevrolet Astro van, and we want to bring you along! From start to finish, Danny demonstrates every step in replacing the rear liftgate, drip rail, and dutch door seals so you can see how easy and DIY friendly this job is!
Materials/parts used
- Screwdriver
- Pliers
- Piece of cardboard
- Popsicle stick
- Masking tape
- Cleaner safe for automotive paint
- Shop rags/paper towels
- Utility scissors
- Scraper/tuck tool - https://www.steelerubber.com/scraper-...
- Rear Dutch (Half) Door Weatherstrip Kit - https://www.steelerubber.com/rear-dut...
- 3M Super Weatherstrip Adhesive (included in the kit) - https://www.steelerubber.com/super-we...
▬ Contents of this video ▬▬▬▬▬▬▬▬▬▬
00:00 - Overview
00:43 - Rear Dutch Door Drip Rail Seal
03:32 - Rear Dutch Door Seals
09:15 - Rear Dutch Door Liftgate Seal
15:20 - Recap
___________________________________________
Search by year/make/model to find the right parts for your ride here: https://www.steelerubber.com/automotive
Contact Us:
Email: [email protected]
Phone: 800-650-5135
___________________________________________
Follow us on Social Media!
/ steelerubberproducts
/ steelerubber
https://www.carbuffnetwork.com/manufa...
#steelerubberproducts #steelerubber #astrovan