Published On Jan 10, 2020
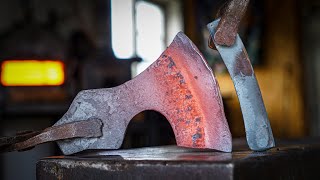
Forging a usable and nice looking hatchet out of a ball peen hammer! Possibly the coolest thing I forged so far if I do say so myself!
Thanks "Bespoke Bloke Designs" for the hammer head:
/ bespoke_bloke_designs
Shout out to all the other makers and blacksmith that did this! It sure is a lot of effort.
@Make N' Create @Black Bear Forge @Jake's Custom Knives @Neels Van Den Berg
Check these channel out by clicking the names, good stuff!!!
Honorable mention to @Brett McAfee for making one out of a steel wedge:
• Forged Hammer Axe from Splitting Wedg...
Just a self reminder I must try to punch a hole myself.
I have listed some of the stuff I use for my projects in this amazon storefront:
https://www.amazon.com/shop/blackbear...
It's affiliate marketing, so if you order something from here you'll help the channel for free! Thank you!
Index of operation and materials:
0:20 Coke forge
1:00 I'm not sure how to explain this as I'm no blackmith expert. Instead of time stamps I think it's better if I explain by words here:
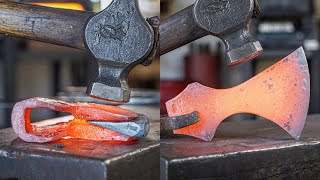
I started with a heavy hammer flattening the side of the hammer that will become the blade.
Then I quickly realized the hammer was too heavy and not effective over the large area of the hammer head after the cilinder was flattened.
So switched to a cross peen and little by little I moved material around to reduce the big chunk of metal that was to hammer head into a wedge shaped blade. This took a long time and a lot of work.
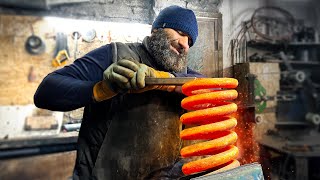
Forging took me a day, a good 8 hrs of hammering! (so much fun but also exhausting).
Also, I kept adjusting where the metal moved by working the sides as well as shown here 2:18
For last I forge the spike where the ball side was.
3:10 I left the hatchet to annheal, cooling down very slowly with the forge to make it soft and easy to grind
3:20 Grind profile, spike, and edge on the 2x72 belt grinder
5:00 Quick normalize cycle just before hardening, probably not needed after annhealing but for sure won't hurt
5:50 Checking temperature with a magnet to reach critical (over non magnetic)
5:55 Quench in water to harden
6:10 Tempering with the forge by slowly heating to deep straw color (around 230°C)
I check the hardness that came between 50 and 55 on the Rockwell scale
6:42 Remove scales with wire wheel on bench grinder
7:07 Buff edge and spike to mirror finish with fine polishing compound and cotton wheel on the bench grinder (I did some hand sanding off camera)
I hope the handle part is self explanatory, if not say something in comments and I'll write more!
Thanks a lot for watching, I hope you liked the video!
Suggestions and comments are welcome.
Leave a like and share to anyone who might be interested!
★Patreon★
/ blackbeardprojects
★Website★
http://blackbeardproject.com/
★Follow me★
Facebook ► / blackbeardprojects
Twitter ► / blackbeardproje
Instagram ► / black_beard_projects