Published On Feb 16, 2017
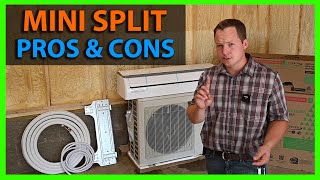
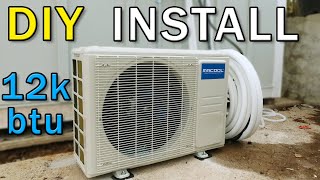
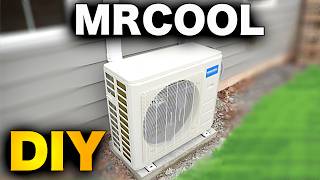
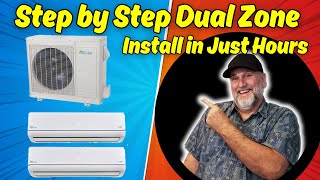
Learn how to install a ductless mini-split air conditioner in just nine minutes. A Blueridge Ductless Mini-Split is one of the most affordable ways to heat and cool your home. They’re perfect for additions, garages, or rooms where ductwork isn’t available. Mini-splits are energy efficient, quiet, and easy to install. There are two units to install. First, the indoor air handler and then the outdoor condenser. The two components are connected by copper tubing, called a line set. You can complete most of the work by yourself, however, the last 10% of the work should be completed by a trained professional.
When you purchase a Blueridge Mini-Split at Alpine Home Air Products you will receive complete installation instructions as well as an installation DVD with select mini-splits. Visit us online for more installation information, to purchase a Blueridge Mini-Split, or to talk with one of our experts about any HVAC related issue.
Shop Blueridge Mini-Splits: https://www.alpinehomeair.com/viewcat...
Need installation help? Contact our experts: https://www.alpinehomeair.com/contact...
Visit Our Learning Center: https://www.alpinehomeair.com/learnin...
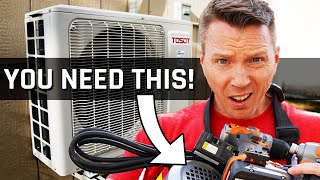
0:01:03 - Tools Needed for Mini-Split Installation;
Adjustable wrench, torque wrench, hex keys or allen wrenches, drill and drill bits, hole saw, utility knife, wire cutter and stripper, phillips and flat blade screwdrivers, a level, safety glasses, & work gloves
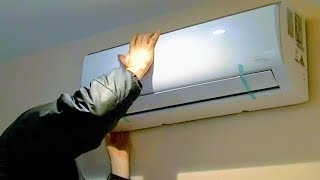
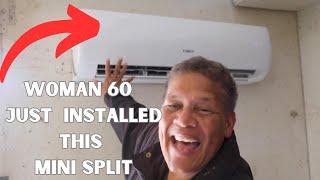
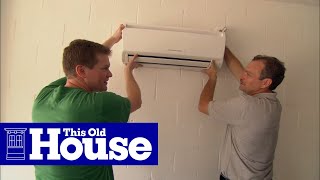
0:01:35 – Install the Indoor Air Handler
Choose location, install wall mount, cut hole for lines, drain hose, and electrical wires, connect drain hose and feed lines, hose, and electrical wires through wall, mount unit, connect multi-conductor wire inside unit (refer to manual for proper terminal connections)
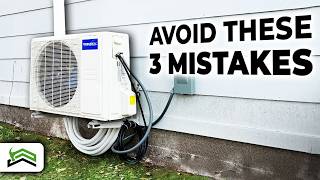
0:04:38 – Install the Outdoor Heat Pump Air Condenser
Choose location, install pad or mounting brackets, securely mount condenser, install optional line set covers if desired, make outside connections, connect drain hose, connect copper line set, connect the multi-conductor wire (refer to manual for proper terminal connections)
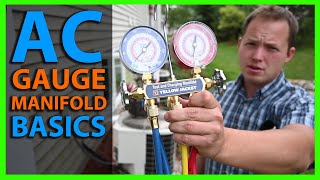
0:06:32 – Consulting a trained professional for remaining connections is recommended, cut and flare copper lines as needed, properly pressurize the system, check for leaks, release refrigerant into system
0:08:24 – Make electrical connections, a trained professional is recommended
0:08:45 – Power up and test system
Congratulations on completing your ductless mini-split installation!
Find more information online at https://www.alpinehomeair.com/