Published On Dec 2, 2022
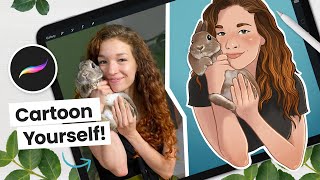
In this video, I'll be walking you through a simple step-by-step guide on how to trace an image in Procreate.
Tracing your photo is a great way to get a high-quality reproduction of your photo. In this video, we'll walk you through the process of tracing your photo on Procreate and explain why it's such a great way to print your photos. After watching this video, you'll be able to trace your photo on Procreate with ease!
This is a great tutorial for beginners who want to learn the basics of tracing and those who want to improve their skills.
These are the basic steps to follow:
1. Save your chosen photo or image on your iPad photo gallery
2. Open a new Canvas using the dimension of the final artwork in mind
3. Select "Add" from the Actions tab in the top toolbar
4. Select “Insert a photo”, choose your photo or image and click on it.
6. Reduce the Opacity of your image.
7. Create a new layer on top of your photo layer.
8. Choose your brush.
9. Adjust your brush size.
10. Edit your stroke stabilization for smooth tracing.
11. Start tracing your edges.
12. Share or export your file.