Published On Oct 29, 2021
3D Printed DML build parts: http://www.typicalben.net/s/shop
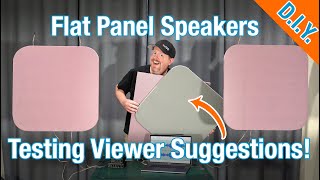
In this video I knock together a quick test panel to try out different combinations of exciter placement and frame/panel attachments (probably something I should have done BEFORE building my gold frames!)
I made a few discoveries as a result of this testing:
- Adding more points of attachment seemed to yield the best results, including slightly smoother frequency response AND stronger bass/midbass performance. I'll probably go with the 10-bolt pattern in my gold panels as it performed so well in the test.
- Centering the exciter horizontally had little effect on the sound compared to placing it at the 2/5 position. My theory on this is that due to the relatively tall/narrow shape of the panel, most of the low end is produced by waves traveling somewhat vertically across the panel (the longer dimension). The low end is also where the most noticeable resonances and cancellations tend to live. With the narrow panel, horizontal placement only affects relatively higher frequencies, therefore the problem is (much) less severe than if the exciter is placed in the center of the long side. Essentially this is pushing the problem further up the frequency spectrum to where it has less effect.
- All combinations showed very strong HF response that looks to continue well beyond 20khz. I might have to temper the treble a bit with electronics (inductor) in addition to my planned high-pass @100hz.
- No combination of position/attachments is what I'd call 'ideal'. As I mention near the end of this video, I think a multi-exciter setup and/or side wings might be in order. Please subscribe if you'd like to see those experiments!
As always, thanks for watching, I hope you found it useful and please hit me up with any questions/suggestions/corrections!