Published On Oct 6, 2023
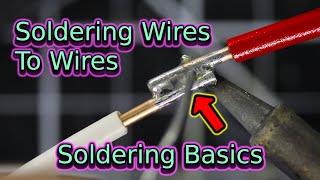
Soldering wires together is a common technique used in electronics and electrical work to create secure and conductive connections. Here are step-by-step instructions on how to solder wires together:
*Materials and tools you will need:*
1. *Wires:* The wires you want to solder together.
2. *Soldering Iron:* A soldering iron is a tool that generates heat to melt solder and make connections.
3. *Solder:* Solder is a low-melting-point metal alloy used to create a conductive bond between the wires.
4. *Soldering Flux:* Flux is used to clean the surfaces of the wires and help the solder flow and adhere.
5. *Wire Strippers:* These are used to strip the insulation off the ends of the wires.
6. *Heat-resistant surface:* To protect your work surface.
7. *Safety gear:* Safety goggles and heat-resistant gloves are advisable to protect yourself from burns.
*Steps to solder wires together:*
1. *Safety First:* Put on safety goggles and heat-resistant gloves to protect yourself from potential burns and eye injuries.
2. *Prepare the wires:* Use wire strippers to remove about 1/2 inch (1.27 cm) of insulation from the ends of the wires you want to solder. Make sure the exposed wire ends are clean and free of any corrosion or dirt.
3. *Tin the wires (optional):* Tinning involves applying a small amount of solder to the exposed wire ends. This step is optional but can make the soldering process easier. To tin the wires, heat the wire briefly with the soldering iron, then touch the solder to the wire. The solder should melt and coat the wire evenly. Remove excess solder by gently wiping the wire with a soldering iron tip cleaner or a damp sponge.
4. *Prepare the soldering iron:* Plug in the soldering iron and allow it to heat up. Most soldering irons have adjustable temperature settings; use a temperature suitable for your solder and the wires you're working with.
5. *Apply flux:* Apply a small amount of soldering flux to the exposed wire ends. Flux helps improve the flow of solder and ensures a good connection. You can use a flux pen or a brush to apply flux.
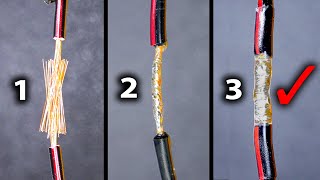
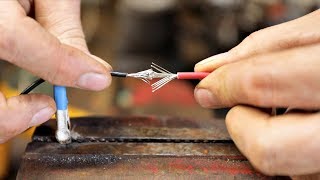
6. *Position the wires:* Align the prepared wire ends together so that they overlap slightly. It's important to ensure a snug fit.
7. *Solder the wires:* Hold the soldering iron in one hand and the solder in the other. Touch the tip of the soldering iron to the wires and let them heat up for a few seconds. Then, touch the solder to the opposite side of the wires (not the soldering iron). The heat from the wires should melt the solder, which will flow and coat the wire joint. Make sure the solder flows evenly and covers the entire joint. Be careful not to overheat the wires, as excessive heat can damage them.
8. *Allow the joint to cool:* Once you've soldered the wires together, remove the soldering iron and let the joint cool naturally. Avoid moving the wires while they're cooling to ensure a solid and reliable connection.
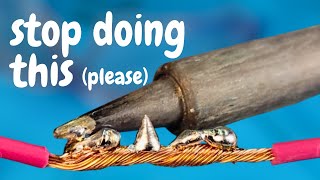
9. *Inspect the joint:* After the joint has cooled, visually inspect it to ensure there are no cold solder joints (dull or grainy appearance). A good solder joint should be shiny and smooth.
10. *Trim any excess solder:* If there is excess solder or protrusions, you can carefully trim them with wire cutters or pliers.
That's it! You've successfully soldered wires together. Make sure your soldered connection is secure and free from any shorts or loose wires before using it in your project. Practice and patience are key to mastering soldering techniques.
00:00 How to solder like a Pro
00:50 Option 1 to Solder wire together
01:49 Soldering wire
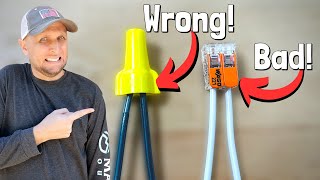
03:31 option 2 Locking wire then Solder
04:55 Soldering locked wire
05:53 Thanks, Please Like & Comment