Published On Feb 4, 2023
How to pour self leveler, complete tutorial
Tools needed
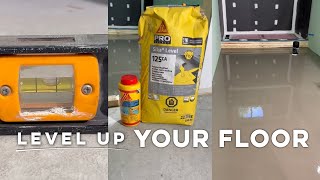
Measuring bucket
Egg beater style mixing paddle
High speed drill or mixer
Caulking
Sill sealer
Primer
Leveling shims in varying thicknesses (flat horseshoe spacers work great)
Self leveling material (always buy an extra bag or two)
Enough buckets to pre-measure all the water before the job begins
Spiked shoes to walk in the leveler
Spiked roller
If you need to level a floor to match an elevation or to fill low spots this is the video for you.
The first step in installing self leveler over concrete is to remodel any bond breakers from the concrete. Bond breakers will prevent the primer from sticking to the substrate and cause a potential failure. Bond breakers include paint, joint compound, dust/debri and cure and seal (often used when the slab was placed). We use a floor grinder to remove all bond breakers. Using a grinder also removes the high polish off the slab. The high polish can also prevent proper adhesion to the substrate.
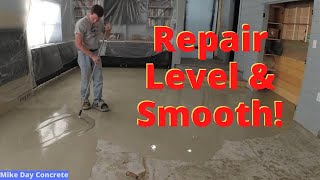
Once the slab is prepared the next step is to find and set the grade. In this video we wanted to match up with the existing floor outside the bathroom so we used that for grade. We simply used a laser to mark the floor elevation then deducted the thickness of our tile floor, including the uncoupling underlayment. Our thickness is 5/8” typically. From there we will set our grade markers every three feet or so to our elevation.
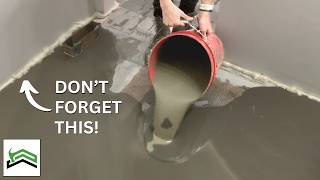
Prior to priming the floor we need to seal the area off to prevent any leveler from escaping. The consistency of the leveler is very thin and it will run out of the area if you’re aren’t careful. We like to use caulking to seal up the area. Don’t forget to block air vents if they are in the floor. Floor drains are also something to pay close attention to.
The next step is to use a sill sealer (or equivalent) around the perimeter of the room to pour against. The sill sealer allows the leveler to expand and contract without causing any buckling.
Once the room is totally prepped it’s time to prime the floor. We use a brush or roller to apply it. Follow the directions on your primer, some primers must be diluted with water. Exact measurements are key, a measuring bucket will be a great tool for this project.
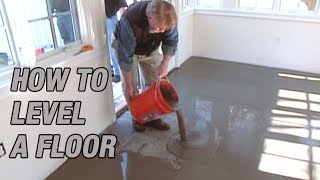
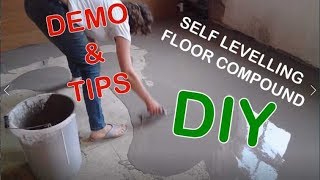
While the primer is drying it’s time to setup for the mixing. We use a large bucket to mix two bags of leveler at a time. We will pre-measure all the water that is required before we start mixing. Follow the manufacturer directions on water content. Self leveling is not a guessing game, the water must be exactly the correct amount.
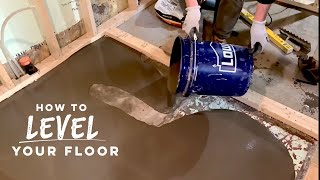
Using an egg beater style mixing paddle with a high speed mixer is the way to mix leveler. Mix for the time required on the bags, typically two minutes. Pour immediately after mixing, do not slake the leveler. Start at the far corner of the job, furthest away from the door. Leveler won’t seek out a truly level area on its own, you will have to help it. Pour up to the top of your grade markers and go slowly. Don’t knock your markers loose and don’t overfill them.
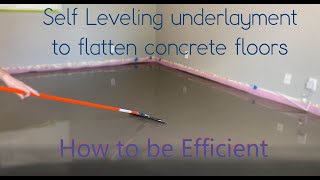
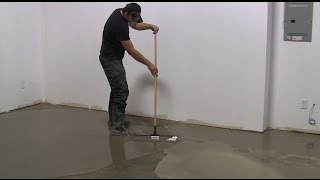
As you mix bags of leveler continue to work from the last pour, don’t skip around. You need to keep the pour going to maintain the flow ability of the product. You have about 10 minutes of work time per batch. That is plenty of time if everything is staged ahead of time. Using the spiked shoes to walk into the leveler use the spike roller to break the surface tension and allow the leveler to do its thing. Just use long strokes with the roller going in both directions to break the tension.
That’s it, that is what it takes to properly install self leveling concrete.
https://www.ejflooring.com
/ ejflooring
/ ejflooring
(573) 289-1045
Certified Tile Installer #1329