Published On Dec 19, 2020
Sure, here's a quick 10-minute guide to installing a porcelain patio:
1. Plan and measure: Before you start installing your porcelain patio, make sure you have a clear plan and accurate measurements. This will help you determine the amount of materials you need and ensure that your patio is the right size and shape.
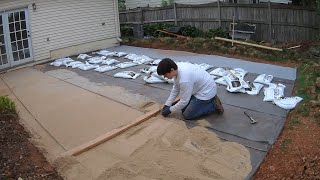
2. Prepare the area: Before you start laying your patio, you need to prepare the area. This involves removing any grass, weeds, or debris, and leveling the ground. You may also need to add a layer of gravel or sand to create a stable base.
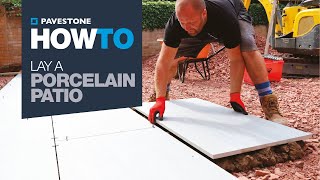
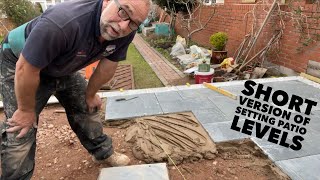
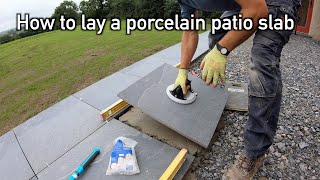
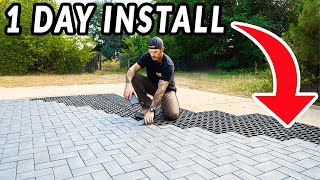
3. Lay the patio: Once the area is prepared, you can start laying your porcelain patio. Start at one corner and work your way out, laying each piece of porcelain in a straight line. Use a level to ensure that each piece is even and flat.
4. Cut and shape the porcelain: Depending on the shape of your patio, you may need to cut and shape some of the porcelain to fit. Use a saw or chisel to make precise cuts, and wear protective gear to avoid injury.
5. Fill the gaps: Once your patio is laid, you may need to fill in the gaps between the porcelain. This can be done with sand or gravel, which will help to stabilize the patio and prevent weeds from growing.
6. Add finishing touches: Finally, add any finishing touches to your patio, such as edging or decorative elements. This will help to give your patio a polished and professional look.
Remember, installing a porcelain patio can be a challenging and time-consuming project, so don't be afraid to ask for help or hire a professional if you need it. With the right materials and techniques, you can create a beautiful and functional outdoor space that you'll enjoy for years to come