Published On Jul 9, 2023
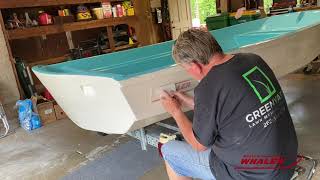
In part "A" of this mini series, I go over how to assemble the backrest of a classic Boston Whaler Montauk RPS. I actually scoured the internet and found next to nothing on this aspect of a restoration. I ended up staring at the backrest for countless minutes and visualizing how it should go together (I left that off the video) and then carefully matched up the holes in the slats with the holes where they would mount to recreate the original construction.
I'll be publishing the second part shortly. In that video, I will be doing the final assembly and installation.
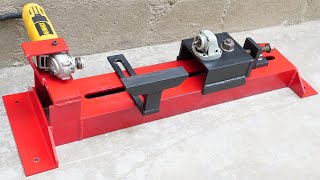
I did break down and bought a large (read expensive) Milwaukee hole saw kit, you'll see me using the 2" version in this video. I'm banking on the fact that having a quality hole saw kit will make using them easier and will have a long lifespan!.
Here are Paid Affiliate links to some of the items I used in this video:
Milwaukee Holesaw set: https://amzn.to/3rcihAm
Hex Bit Extension: https://amzn.to/3JOkoAN
00:00 Introduction
00:45 Explanation of How I'll Figure Sort out the pieces
02:07 Start of the Assembly Process
07:34 Installing the Center Brace
08:11 Making The Rod Holder Bushings
10:19 Installing the Rod Holders and Bushings
12:01 Installing the RPS Backrest Cap
12:35 Installing the Backrest Grab Handles and Final Slat
13:45 Explanation of the Backrest Mounts
14:09 Wrap Up
#restoration
#rps
#boat