Published On Apr 4, 2022
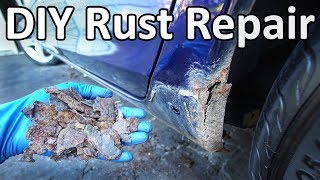
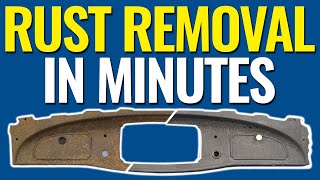
How to PROPERLY Paint Over Rust. PART 1 of 2- Prep Work (Car Rust Repair). In this video we are going to take a look at what it takes to properly paint over rust. THIS VIDEO IS ONLY GOING TO COVER THE PREP WORK. I'm going to be painting the chassis of a vehicle but this procedure would apply to any sort of rusty metal that you want to paint. It could be a car, truck, trailer, mower deck, farm equipment, patio furniture etc. Or even just parts, a frame, fender, doors, axles, or fuel tank.
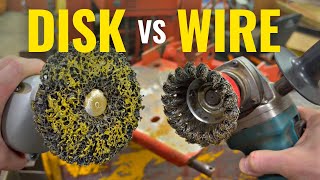
I started by removing all the parts from the bottom of this car. Transmission, axle, fuel tank, and exhaust. As well as all the fuel lines, brake lines, and emergency brake cables. Once all of the major parts that you do not want to mask off are removed, you can start removing as much rust as possible. I used a 4.5 angle grinder and a stripping disc to do most of the rust removal. The tight areas required a pneumatic die grinder and a 60 grit sanding disc.
Once the entire chassis has been stripped it moved to a phosphoric acid rust converter and paint prep. I sprayed sections of the chassis down, and scrubbed the acid into the metal, rust, and any paint left with a red scotch brite pad. This does a few things. This will remove any light rust, convert any rust that is left into iron phosphate, sand the metal and existing paint, and finally, leave a chemical etch on the metal to keep light surface rust from quickly reforming as well as help with primer adhesion.
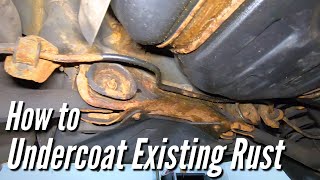
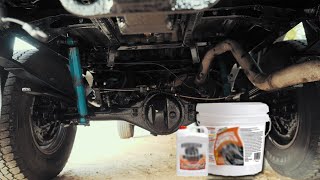
How to Undercoat a rusty vehicle: • How to PROPERLY Undercoat A Rusted Ca...
Rust Converter Testing: • MOST Rust Converters Are A JOKE! Let ...
Tools and supplies I used in this video:
Stripping Discs: https://amzn.to/3NIGjd8
60 Grit Sanding Discs: https://amzn.to/3u7byqE
Red Scotch Brite: https://amzn.to/37egq46
Gloves: https://amzn.to/3NKYvD0
4.5 inch Grinder (Cheap 7amp): https://amzn.to/3Lwup4e
Pneumatic Die Grinder: https://amzn.to/3u7ctaA
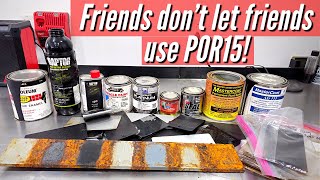
Phosphoric Acids:
Rust Kutter: https://amzn.to/3LK1D09
Ospho: https://amzn.to/3x7zZWG
Rustoleum Gel: https://amzn.to/3DM1Ay8
Mastercoat Metal Prep (What I used because I'm using their paint): https://nomorerust.com/store/metal-pr...
My Amazon Store: https://www.amazon.com/shop/repairgeek
Help support the channel, buy using my Amazon links
As an Amazon Associate I earn from qualifying purchases and your cost is exactly the same.
Questions? Shoot me an email at [email protected]
00:00 Intro
00:09 Should you REALLY do this?
1:58 Why am I doing this?
2:42 Disassembly
3:12 Condition of the vehicle
4:04 Cleaning. Remove all grease & oils
5:34 Rust removal tools
8:30 PPE equipment
9:15 Something to consider if you have existing paint
12:30 Stripping existing paint and rust
14:10 Phosphoric acid products
15:49 How to apply phosphoric acid
17:28 Acid treatment before & after
18:42 What the chassis looks like when it's ready for paint.
19:36 What the chassis looked like when we started
20:10 Next steps & Outro
Disclaimer:
The information, demonstration and any content contained in this video is for informational purposes only. The user Repair Geek makes no warranty, express or implied, regarding the effectiveness or safety of the contents of this video. In no way should the contents of the video, including the tools used, be repeated or tried by anyone. Viewers should only seek the help of a trained professional located at a licensed auto repair shop for any fix, modification, alteration, or any change to their vehicle. Repair Geek shall not be liable for any injury, damage, or loss to any person or property that may result from use of the tools, equipment, or any content contained in this video. In addition, there is no way to guarantee that the video is not altered or modified or is not in the final form submitted by Repair Geek and therefore, Repair Geek does not warrant that the video is unaltered or not modified. The links on this video to products are for informational purposes only and in no way are an endorsement of the safety or effectiveness of the particular product. Viewers understand that anything contained in this video or linked to or from this video is the sole responsibility of the viewer and in no way provides an express or implied warranty as to the safety or effectiveness of any linked tool, product, or video. Therefore, viewer agrees to release, waive, and discharge Repair Geek or anyone affiliated with Repair Geek, from any and all liability, claims, demands, actions, and causes of action whatsoever arising out of or related to any loss, damage, or injury, including death, that may be sustained by the viewer, or to any property belonging to viewer, regardless of whether the loss is linked to the use of the contents of this video, or otherwise and regardless of whether such liability arises in tort, contract, strict liability, or otherwise, to the fullest extent allowed by law.